Category Archives: প্রযুক্তি (Technology)

How I Built My First Blog Without Coding – A Beginner’s Guide

Have you ever wanted to start a blog but felt worried by the technical stuff? That was me just a few time ago. I had a voice, a story, and a desire to share—but zero coding skills. Today, I’m writing this post from my own blog: Pobitro.com.

Here’s how I did it—and how you can too.

🌐 Step 1: Choosing the Right Platform

When I started, I explored many options like Blogger, WordPress and Medium. But I chose WordPress for three reasons:

  • It’s free and open-source (unlike Blogger and Medium)
  • You can control your content
  • It grows with you

🔎 Tip: If you’re just testing the waters, try WordPress.com. But for more freedom, go with WordPress.org and self-host.


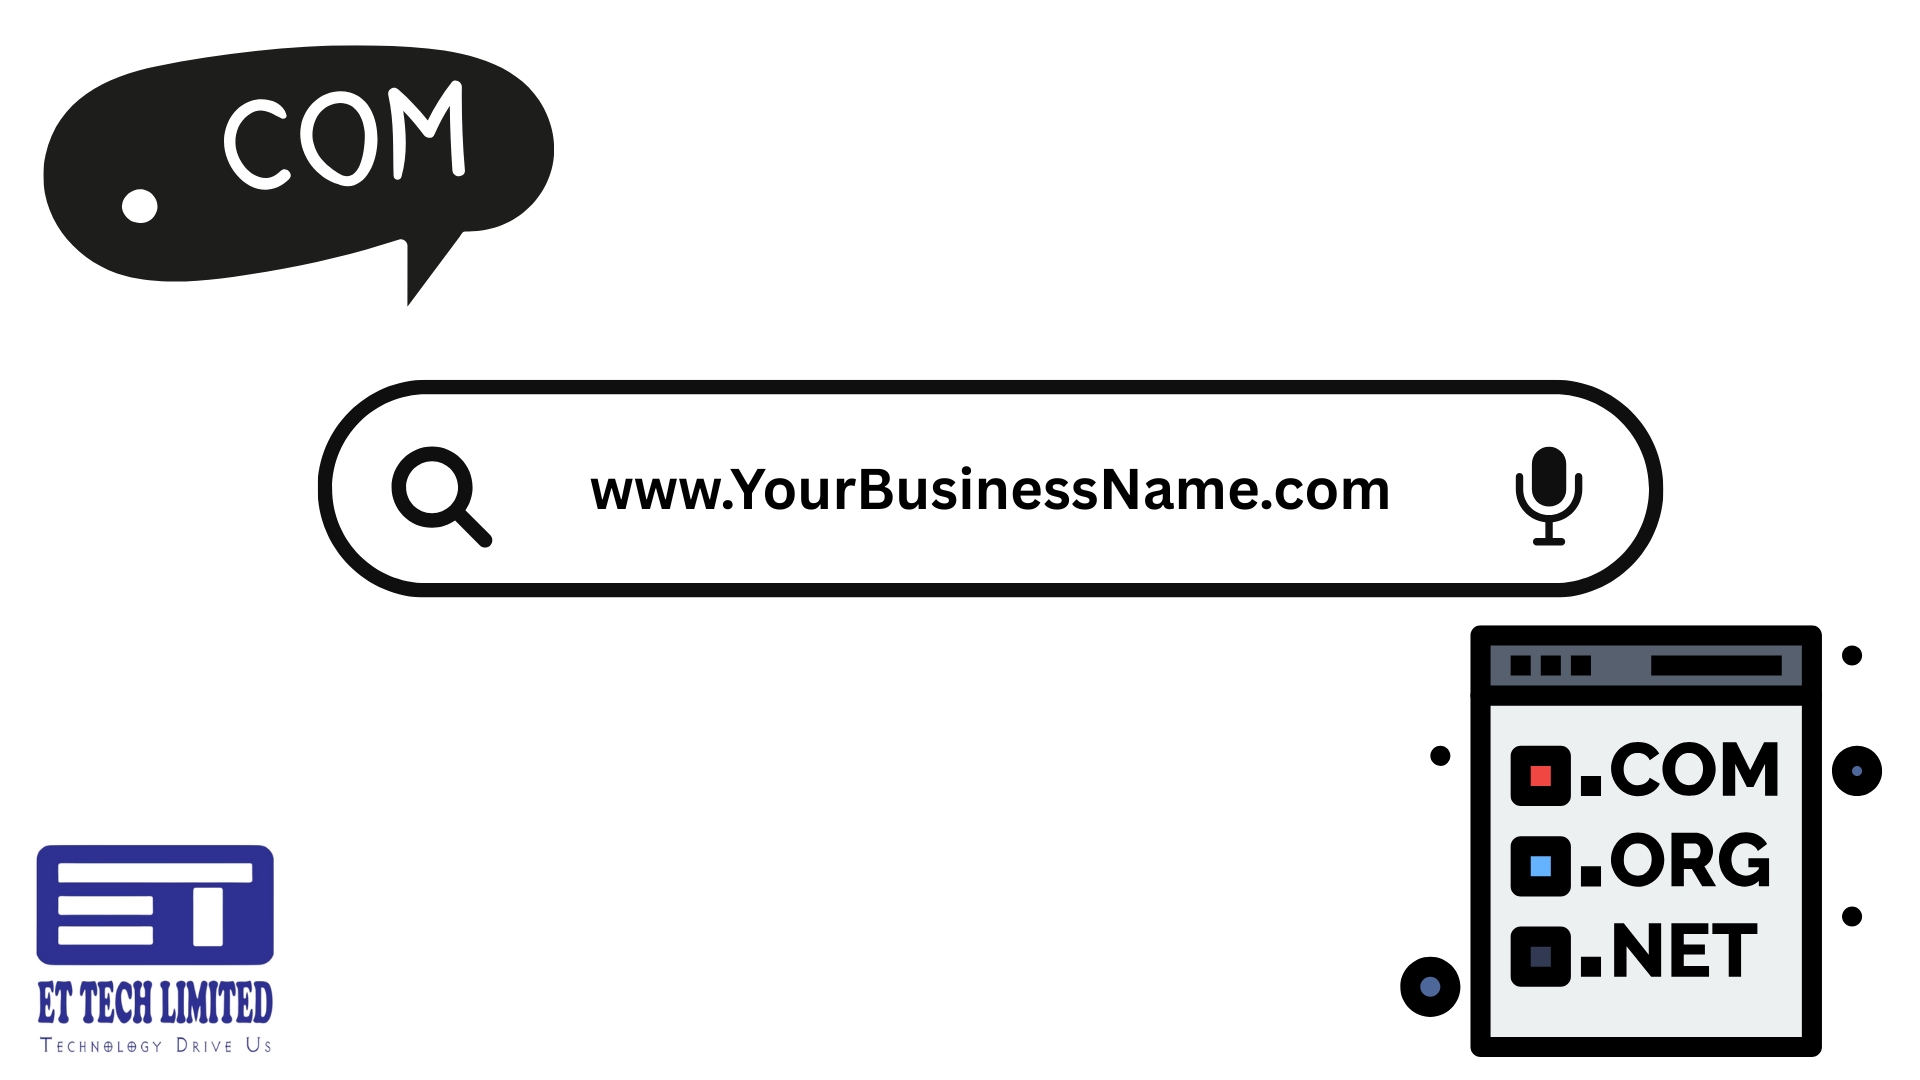
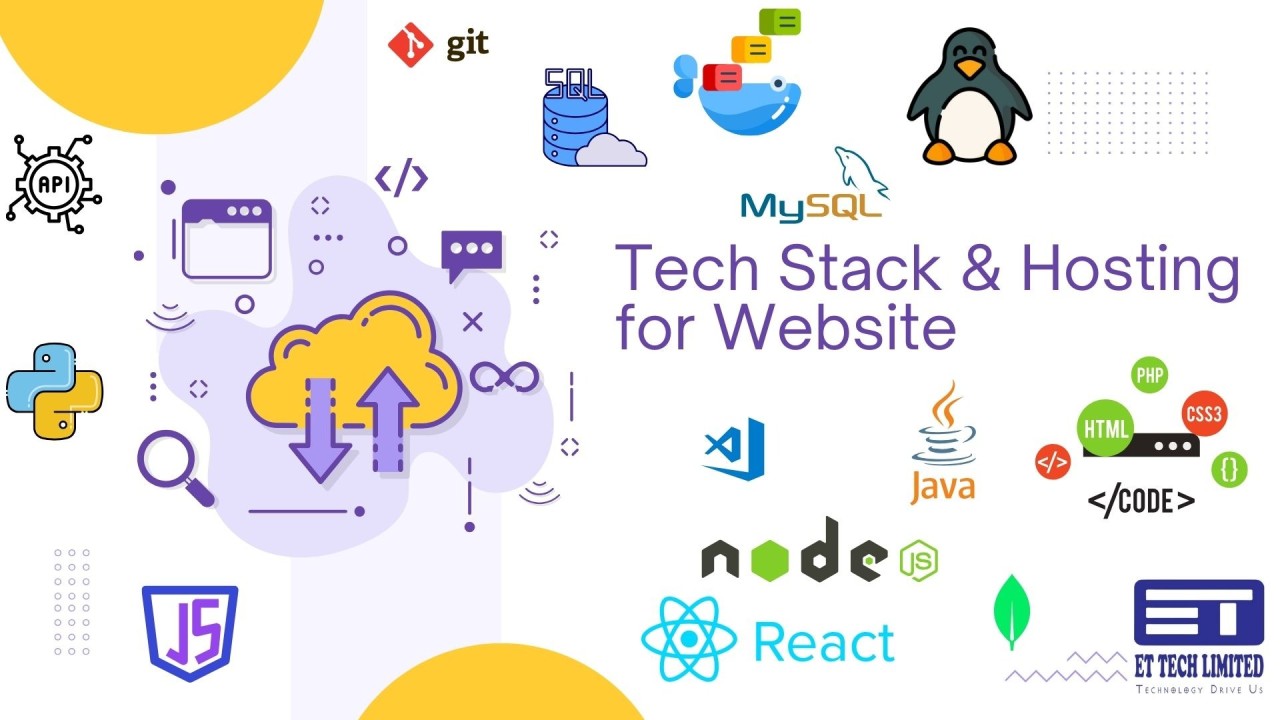
🏠 Step 2: Buying Domain & Hosting

My blog needed an identity. So I registered the domain Pobitro.com. Then I got hosting from a reliable provider that supported WordPress with 1-click install.

What you need:

  • A domain (yourblogname.com)
  • A hosting service (like Namecheap, Godaddy, Hostinger, or SiteGround)

It cost me around $30–50 for the first year. Worth every Taka.


🎨 Step 3: Installing WordPress & Choosing a Theme

Once the hosting was ready, I installed WordPress in one click. No code, no fuss.

Then I picked a simple, clean theme that matched my writing style. Don’t overthink this. You can change it anytime.

📌 I use the free “Astra” theme — fast, minimal, and customizable.


📝 Step 4: Creating My First Blog Post

This was the most exciting part.

I wrote about something I knew and felt. It wasn’t perfect, but it was mine.

✅ My advice? Just write. Hit publish. You’ll improve over time.

I used tools like:

  • Grammarly – to fix my grammar
  • Canva – to create cover images
  • Google Docs – for drafting ideas

🔒 Step 5: Securing and Optimizing the Blog

I added some must-have plugins:

  • Yoast SEO – to help Google find me
  • Jetpack – for traffic stats and basic security
  • UpdraftPlus – to back up my blog weekly

🧠 What I Learned

  • You don’t need to be a techie to blog
  • Your story matters more than your tools
  • Consistency beats perfection

📣 Final Thoughts

Starting this blog has changed how I think, write, and even learn. If you’ve been thinking about blogging—just start.

Your voice has value. You don’t need permission.


💬 Over to You

Have you ever thought about starting a blog?
What’s holding you back?

Drop a comment below or connect with me—I’d love to hear your story.


Would you like a featured image and meta description for this blog post too?

How do you choose the best domain name for your business?

1️⃣ Keep It Simple & Short

  • Avoid complexity: Choose a name that’s easy to spell, pronounce, and remember.
  • Keep it short: Aim for 1-3 words (under 15 characters). Shorter domain names are easier to type and recall.
  • Avoid numbers and hyphens: They can confuse people when speaking your domain name.

Example: If your business is called “Safari Travel and Tours,” safari.com.bd would be a great, simple domain.

2️⃣ Use Relevant Keywords

  • Incorporate keywords that reflect your business and industry. This helps SEO (Search Engine Optimization), making it easier for people to find your website.
  • For example, if you’re in web services, consider using words like “web,” “design,” “development,” or “services” in your domain.

Example: For a web development business, banglawebservices.com can work well.

3️⃣ Choose the Right Domain Extension (.com, .org, .net)

  • .com is still the gold standard and the most recognized, so try to get a .com domain if possible.
  • If .com is unavailable, consider .net, .co, or a niche TLD like .tech or .design. But remember, .com is always easier for users to remember.

Typical TLD use case;

TLD Use Case

.com – Commercial websites, startups, general use

.org – Nonprofits, NGOs, open-source projects

.net – Tech companies, networks, infrastructure

.biz – Small businesses, the alternative to .com

.gov – Government entities (restricted)

.bd – Bangladesh-specific domains (local targeting)

There are many more TDL available nowadays a days you can use.

4️⃣ Make It Brandable

  • Your domain should be unique and brandable. Avoid generic terms that sound like every other business in your field.
  • Think of your domain as a marketing tool—it should help your brand stand out and feel professional.

5️⃣ Avoid Trademark Issues

  • Ensure your domain name doesn’t infringe on existing trademarks. Check for trademarks using a simple Google search or a trademark database.
  • You don’t want to invest time and money in a domain that could lead to legal issues down the line.

6️⃣ Consider Your Future Growth

  • Choose a domain name that allows your business to grow. For example, if you start with banglawebservices.com but plan to expand your business to other services or regions other than Bangladesh, it might be better to choose a more general name like “bestwebservices.com.”

7️⃣ Check Domain Availability

  • Once you have your desired name, check if the domain is available using domain registration services like Namecheap, GoDaddy, or Google Domains.
  • It’s also helpful to check if related social media handles are available for consistency across platforms.

8️⃣ Test It Out

  • Before committing, say the domain name out loud, write it down, and check how it looks in an email address.
  • Social Media Availability: Ensure the name is available on major platforms (Facebook, Instagram, Twitter).
  • Ask others for feedback: Sometimes, something that sounds great in your head may confuse others.

9️⃣ Make It Easy to Remember

  • Ensure that the name is memorable and catchy. Avoid unusual words or terms that might confuse potential customers.
  • A memorable name often makes it easier for customers to return and share your business with others.

10️⃣ Register Your Domain

  • Once you’ve chosen the perfect domain, register it immediately with a reliable registrar. Purchasing related domain names to protect your brand is also a good idea.

Choosing a domain name is an essential step in establishing your online presence. Please keep it simple, memorable, and relevant to your business. Don’t rush—take your time to select a domain that will grow with your company.

Final Thoughts

Apart from the above thoughts, you can choose whatever you feel about naming. Those are not a thumb rule to follow, but they are just a guideline to make it great.

🚀 Need help choosing the right domain name for your business? Let’s discuss in the comments! Sure, we will suggest some names to you.

The Best Tech Stack & Hosting for Your Startup and Small Business Website – A Beginner’s Guide

Intro:

Are you starting a small business or a startup? Your website is your digital storefront, and choosing the right technology stack and hosting solution can make or break its success.

As the driving force behind your business, your decision-making power is crucial. With so many options available, how do you decide what’s best for your business?

In this guide, we’ll provide practical insights into the best tech stack & hosting choices for startups, focusing on affordability, scalability, and ease of use.

Let’s get started! You have the power to launch your business into the digital world. 🚀

Step 1: Choosing the Right Technology Stack

A technology stack refers to the tools, frameworks, and programming languages used to develop your website. A small business or startup needs a cost-effective, scalable, and easy-to-maintain solution.

1️⃣ Best Options for Non-Technical Users

If you don’t have coding experience, these platforms let you build a website with minimal effort:

🔹 WordPress (Recommended for Blogs & Business Websites)

✅ Easy to use & customize (with themes & plugins).

✅ Ideal for company websites, blogs, and service-based businesses.

✅ Free & open-source, but needs hosting.

🔹 Website Builders (Wix, Squarespace, Webflow)

✅ Drag-and-drop functionality, no coding needed

✅ Faster setup, but limited flexibility.

✅ Best for freelancers, consultants, and small e-commerce stores.

🔹Shopify (Best for E-commerce Startups)

✅ Ready-made e-commerce platform with secure payment gateways.

✅ Subscription-based, starting at ~$29/month.

✅ Limited customization compared to a custom-built store.

2️⃣ Best Options for Startups with a Tech Team

If your startup has developers, consider custom development for more control and scalability:

🔹MERN Stack (MongoDB, Express.js, React, Node.js) – Best for dynamic web apps & SaaS startups

🔹LAMP Stack (Linux, Apache, MySQL, PHP) – Best for traditional business websites

🔹Next.js (React-based, SEO-friendly) – Great for fast, scalable websites

Rule of Thumb:

🔹If you need a website quickly and easily, → Use WordPress or Wix

🔹If you need an e-commerce store → Use Shopify or WooCommerce

🔹If you’re building a custom web app → Use MERN or Next.js

Step 2: Choosing the Right Hosting Solution

Your website’s performance depends on where it’s hosted. Here are the best hosting options for small businesses and startups:

1️⃣ Shared Hosting (Best for Small Business Websites)

✅ Cheapest option (starting at $3–$10/month)

✅ Good for blogs, portfolio sites, and basic business websites

💡 Recommended Providers: Bluehost, Namecheap, SiteGround, and so many others.

2️⃣ Cloud Hosting (Best for Growing Startups & High Traffic Sites)

✅ Scalable, reliable, and faster than shared hosting

✅ Pay-as-you-go pricing, ideal for startups

💡 Recommended Providers: Google Cloud (GCP), AWS, DigitalOcean, Vultr

3️⃣ Managed WordPress Hosting (Best for WordPress Sites)

✅ Optimized for speed, security & automatic updates

✅ Hassle-free, but slightly more expensive ($20+/month)

💡 Recommended Providers: Kinsta, WP Engine, Cloudways

4️⃣ VPS Hosting (Best for Medium-Sized Startups Need More Control)

✅ Better performance than shared hosting

✅ Requires some server management knowledge

💡 Recommended Providers: Linode, A2 Hosting, Hostinger VPS

Rule of Thumb:

  • For small business websites → Use Shared or Managed WordPress Hosting
  • For e-commerce or SaaS startups → Use Cloud or VPS Hosting
  • For high-traffic & scalable websites → Use Google Cloud, AWS, or DigitalOcean

Final Thoughts

Choosing the right tech stack and hosting solution doesn’t have to be overwhelming. Focus on scalability, ease of use, and cost-effectiveness based on your startup’s needs.

🚀 Need help choosing the right platform for your business? Let’s discuss in the comments!

Creating a Personal Blog Journey: A Step-by-Step Guide to publishing a blog

Embark on Your Personal Blogging Adventure: A Compelling Step-by-Step Guide to Launching Your Blog

Step 1: Clarify Your Purpose and Audience
Before you leap into blogging, ask yourself why this journey excites you. What topics ignite your passion? Who will benefit from your insights? Clearly defining your purpose and target audience is key to creating impactful, engaging content that resonates.

Step 2: Select Your Blogging Platform
With a multitude of platforms available such as WordPress, Blogger, and Medium, it’s essential to choose wisely. Consider the features that matter to you—ease of use, customization capabilities, and community support. WordPress stands out for its versatility and robust range of plugins, making it a top choice.

Step 3: Choose a Catchy Domain Name
A unique and memorable domain name is the cornerstone of your blog’s identity. Make it reflective of your content and easy to recall. Use a domain registrar to check its availability and claim your ideal name as quickly as possible.

Step 4: Secure Reliable Hosting
If you decide on a self-hosted option like WordPress.org, it’s crucial to invest in quality hosting. Look for providers known for excellent customer service, reliability, and strong security measures. Consider options like Bluehost or SiteGround, which cater to bloggers’ needs.

Step 5: Craft a Stunning Blog Design
Your blog’s design is its first impression—make it count! Choose a theme that complements your content and personal aesthetic. Customize it to create a distinctive look, and don’t forget to ensure it’s mobile-responsive, as many visitors will browse on their phones.

Step 6: Create Core Pages
Before you publish your first post, establish essential pages that guide your audience. An engaging About page shares your story, while a Contact page allows readers to connect. Consider a Privacy Policy to transparently communicate how you’ll handle data—the key to building trust.

Step 7: Strategize Your Content Creation
Outline your content with a strategic calendar, deciding on topics and a posting frequency that aligns with your goals. Brainstorm ideas that excite you and your readers, ensuring a steady flow of valuable content that keeps them coming back for more.

Step 8: Compose Captivating Posts
When crafting your blog posts, keep your audience front and center. Write in a relatable, conversational tone, weaving in personal stories that foster connection. Utilize short paragraphs, subheadings, and visuals to enhance engagement and readability.

Step 9: Master SEO Techniques
To elevate your blog’s discoverability, familiarize yourself with basic SEO strategies. Optimize your posts with relevant keywords, compelling titles, and meta descriptions. Incorporate both internal and external links to boost your site’s credibility and attractiveness to search engines.

Step 10: Promote Actively
Spread the word about your blog far and wide! Share posts across social media platforms, engage with your audience actively, and join blogging communities to network. Collaboration with fellow bloggers amplifies your reach and builds valuable connections in the blogging world.

Step 11: Analyze and Adapt
Utilize analytics tools to gauge your blog’s performance. Monitor visitor statistics, popular content, and search queries directing traffic to your site. Leverage these insights to fine-tune your content strategy and drive growth.

Step 12: Commit to Consistency and Thrive
Success doesn’t happen overnight; it requires dedication and patience. Maintain a consistent posting schedule, foster interactions with your audience, and strive to enhance your writing skills. Your persistence will pay off as your blog flourishes over time.

By following these persuasive steps, you’re not just starting a blog—you’re embarking on a rewarding journey that embodies your unique voice and insights. Embrace your adventure, and happy blogging!

Essential Tips: Safeguarding Your Smartphone – Basic Security and Privacy Practices

Basic security and privacy practices are essential to ensure the safety of your smartphone and the personal information it contains. Those fundamental steps you can take to enhance the security and privacy of your smartphone:

1. Passcode/Password: Enable a strong passcode or password to unlock your device. Use a combination of numbers, letters, and symbols for added security.

2. Biometric Authentication: If your smartphone supports biometric authentication (such as fingerprint or facial recognition), consider using it in addition to a passcode for added security.

3. Software Updates: Regularly update your smartphone’s operating system and apps. Updates often include security patches that fix vulnerabilities and protect against potential threats.

4. App Permissions: Review the permissions that apps request before installing them. Only grant necessary permissions to apps, and be cautious about granting access to sensitive data like your location, camera, and microphone.

5. App Sources: Download apps only from official app stores (like the Apple App Store or Google Play Store). Third-party app stores can pose a higher risk of downloading malicious apps.

6. Security Software: Consider using reputable mobile security software or antivirus apps to help protect your device from malware and other threats.

7. Lock Screen Notifications: Configure your lock screen settings to hide sensitive content from notifications. This prevents others from seeing your private information without unlocking your device.

8. Encryption: Enable device encryption to secure your data in case your smartphone is lost or stolen. Modern smartphones often come with encryption enabled by default.

9. Remote Tracking and Wiping: Activate the “Find My Device” feature (or equivalent) so you can track your device’s location and remotely wipe its data if it’s lost or stolen.

10. Public Wi-Fi: Avoid using unsecured public Wi-Fi networks for sensitive tasks like online banking or accessing personal accounts. If you must use public Wi-Fi, consider using a virtual private network (VPN) for added security.

11. App Updates: Keep your apps up to date as well. App updates often include security fixes and improvements.

12. Two-Factor Authentication (2FA): Enable 2FA whenever possible for your accounts. This adds an extra layer of security by requiring a second verification step, usually a code sent to your phone.

13. Secure Browsing: Use a secure browser and be cautious when clicking on links in emails, text messages, or websites, as they could lead to phishing attempts or malicious sites.

14. Review Privacy Settings: Regularly review the privacy settings on your smartphone and individual apps. Adjust settings to limit the sharing of your personal information.

15. Data Backup: Regularly back up your smartphone’s data to a secure cloud storage service or your computer to prevent data loss in case of device damage, loss, or theft.

By following these basic security and privacy practices, you can significantly reduce the risk of unauthorized access to your smartphone and personal data.